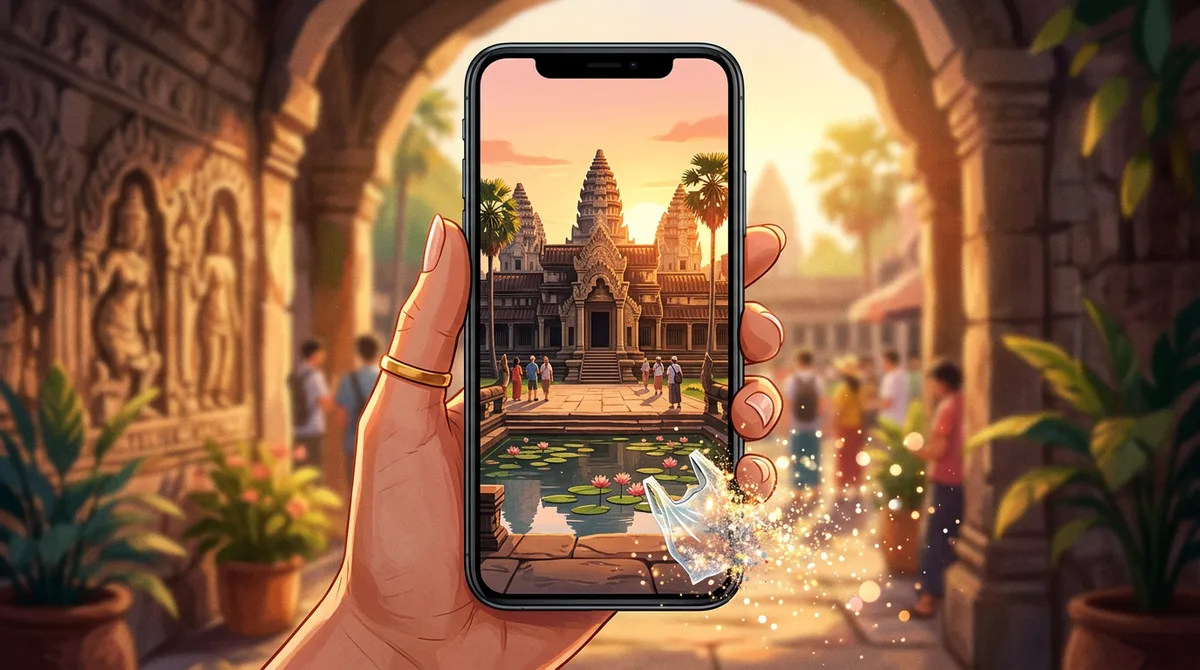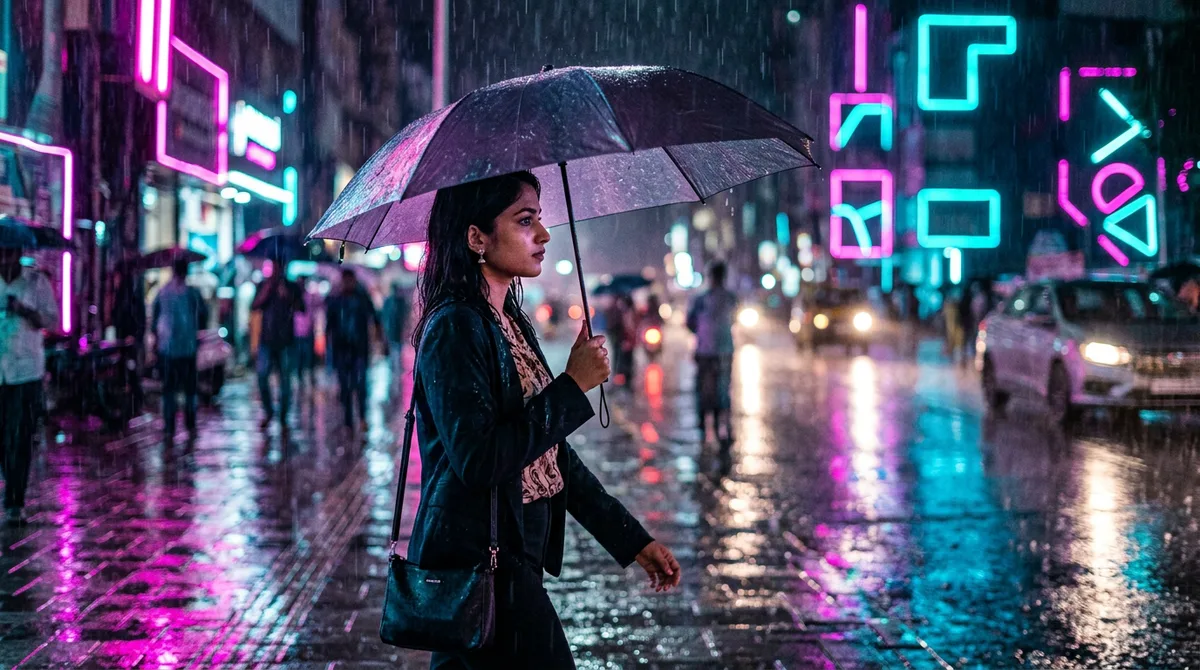
Neon portraits look expensive in photos, but they are hard to shoot. You need rain, a good street, colourful lights and a patient friend. A good Gemini neon portrait prompt skips all of that and gives you the wet-street, magenta-and-cyan look in about a minute.
I spent an evening testing this on portraits. My first attempts had garbled signboards, a plastic-looking face and colours that fought each other. Here are the two templates that finally worked, plus the fixes.
What a neon portrait actually needs
Think about how a real neon photo works. There are two coloured lights hitting the face from opposite sides, and a dark, wet background that reflects them. That is the whole recipe.
Gemini does not understand “neon vibe” very well. It understands lighting direction. So give it three things:
- Two light colours and their sides: “magenta from the left, cyan from the right”. This single line matters more than any adjective.
- A dark, wet setting: night, rain, wet road. Reflections do half the work.
- Natural skin: without “natural skin tones”, faces turn purple or waxy.
If you upload your own photo, add the face rule too. I explained it in my post on keeping the face the same in Gemini.
The master Gemini neon portrait prompt
Paste this and fill the brackets. Upload a clear, front-lit photo of yourself if you want your own face.
Prompt: Create a cinematic neon portrait of [the person, clothing] standing on a [rainy city street / festival market lane] at night. Magenta neon light from the left and cyan neon light from the right, wet road with colourful reflections, shallow depth of field, 85mm lens look. Keep the face natural with realistic skin tones. The neon is only abstract glowing tubes and shapes. No letters, no signboards, no writing anywhere. No logos, no watermark.
The sentence about letters is not decoration. I will explain why in the mistakes section below.
Example 1: Rainy Bengaluru street at night
For the first test I wanted the classic cyberpunk look with a local feel: a wet road, an auto-rickshaw in the background and glowing tubes on the shop fronts.
Prompt used: Neon portrait photo, young Indian man in a black jacket on a rainy Bengaluru street at night, magenta neon light from the left, cyan neon from the right, wet road reflections, natural skin tones, 85mm, shallow depth of field. Neon is only abstract glowing tubes. No letters, no signboards, no writing. No logos, no watermark.
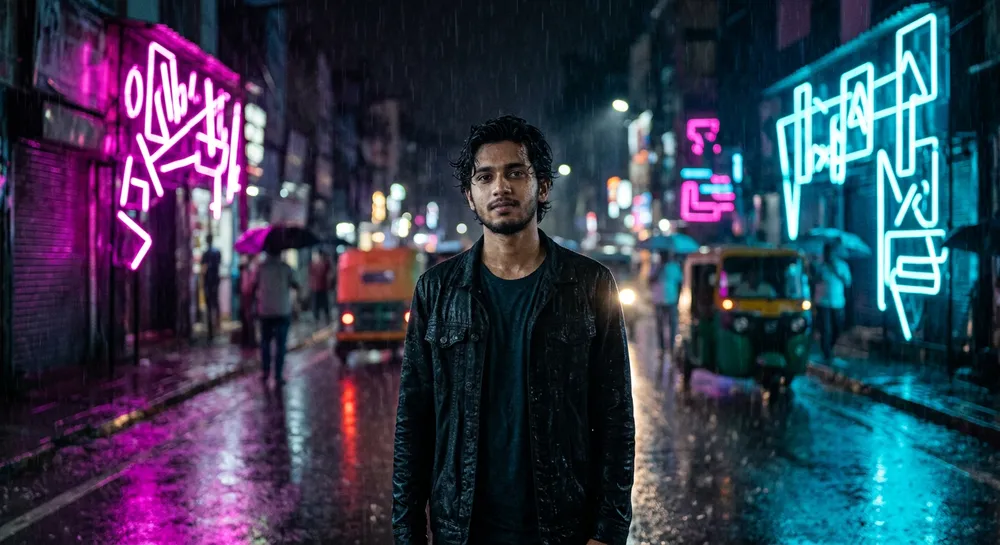
What worked: the colours split cleanly, with magenta on one side of the road and cyan on the other. The rain on the jacket is a nice touch I did not even ask for. Adding “Bengaluru” got me the auto-rickshaw and the narrow shopfronts, which “city street” alone never did.
Example 2: Silk saree in a festival market lane
Neon does not have to mean a leather jacket. Traditional clothes look striking under coloured light, and the gold border of a silk saree catches the glow beautifully.
Prompt used: Neon portrait photo, young Indian woman in a deep green Mysuru silk saree with a gold border and jasmine in her hair, standing in front of a glowing pink and blue neon-lit festival market lane at night, soft rim light on the face, natural skin tones, 85mm, cinematic. No logos, no watermark.
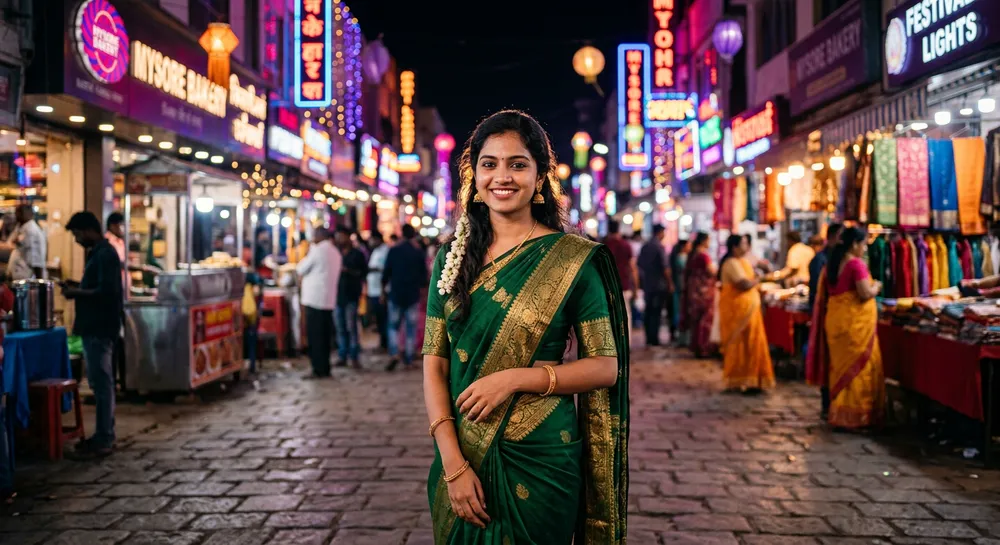
Look at the background lettering in this one. I left out the “no writing” line on purpose, and the signboards came out as fake text. That is exactly what you will get if you skip it. The saree portrait is also a good match for my saree photo prompt if you want a daytime version.
Colour pairs that work (and ones that fight)
I tried six combinations. These behaved best:
- Magenta + cyan: the safe classic. Skin stays warm in the middle.
- Orange + teal: more cinematic and a little less loud.
- Pink + blue: softer, good for saree and festival looks.
The ones that fought: red + green (muddy), and three or more colours at once. With three colours Gemini splashes all of them everywhere and you lose the two-sided lighting.
A shortcut: add neon to a photo you already have
You do not always need a fresh image. If you already have a night photo that looks flat, upload it and use an edit-style request instead of a full prompt:
Prompt: Keep the person, pose and clothing exactly the same. Relight the scene at night with magenta neon from the left and cyan neon from the right, add wet-road reflections, and keep the skin natural. Do not add any text or signs.
I tried this on a plain evening photo taken near a bus stand. The face and clothes stayed put, and only the light and the road changed. It is the quickest way to get a believable result, because the model is changing light, not rebuilding a person from scratch.
One honest limit: if the original photo is blurry or very dark, the relit version will be blurry too. Start with the sharpest version you have.
Common mistakes with a Gemini neon portrait prompt
Fake text on every sign
Image models draw letter-like shapes where they see a sign. Say “abstract glowing tubes, no letters, no signboards”. If one sneaks in anyway, follow up with “remove all text from the signs and replace with plain glowing shapes”.
Purple or waxy skin
Too much coloured light. Add “natural skin tones, soft rim light” and mention that the face is lit mostly from the front.
The background is too bright
It stops looking like night. Write “dark background, only neon as light source”. I also had better luck when I mentioned “wet road” because the reflections replace extra light.
Everything is over-sharpened
Ask for “shallow depth of field, soft bokeh background”. If it still looks harsh, try my film-grain trick from the retro film photo prompt and add a little grain.
Quick fixes after the first result
- Ask for one change at a time, such as “make the left light more magenta”.
- If the face drifts, re-upload your original photo and repeat the face rule.
- Save the prompt that worked. Small edits to a good prompt beat starting over.
Google explains what its image tools can do on the official Gemini image generation page, which is worth a look because features and limits change.
FAQ
Can I use my own photo for a neon portrait?
Yes. Upload a clear, front-lit photo, add the face rule, and keep the lighting description the same. Results are better when the original is not heavily filtered.
Why does the text on signs look wrong?
The model guesses letter shapes instead of writing real words. Ask for no writing at all, and add real text later in an editor if you need it.
Which colours are best for beginners?
Magenta on the left and cyan on the right. It is forgiving and works on almost every skin tone.
Does this work in ChatGPT too?
The same structure works: two light colours, dark wet setting and natural skin. Wording may need small tweaks, but the logic is identical.
Wrap-up
Treat neon like real lighting and describe it that way: two colours, two sides, one wet dark street. Start with the master prompt, run it once, and then fix one thing at a time. If you try a Karnataka setting of your own, a temple street at night or a Mysuru lane, tell me how it turned out.